Website niet gevonden!
U bent op deze pagina gekomen doordat u een website zocht, die niet meer bestaat of nog in aanbouw is. Wilt u meer weten over Kuki+Ko? Bekijk dan onze portfolio of neem contact met ons op!
Meer weten?
Portfolio
Kuki+Ko maakt websites sinds 2005 voor meer dan 200 tevreden klanten.
Accretio Curaçao
Stichting Accreto is een centrum voor muziek en muziektherapie op Curaçao.
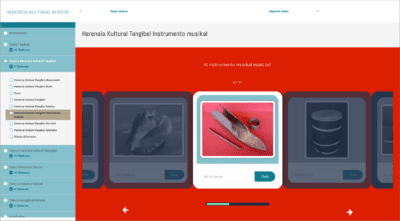
Herensia Kultural
Un kurso digital pa siña mas tokante nos herensia kultural.
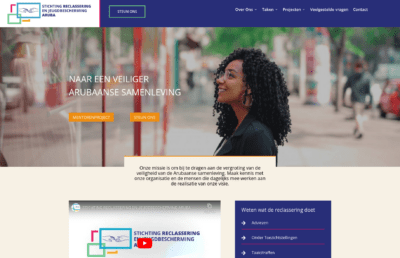
Stichting Reclassering en Jeugdbescherming Aruba
Stichting Reclassering en Jeugdbescherming Aruba (SRJA) is een onafhankelijke stichting die overheidstaken binnen de justitiële keten uitvoert. Deze taken focussen op het voorkomen van recidive en het bevorderen van de resocialisatie van personen die in contact zijn gekomen met justitie.
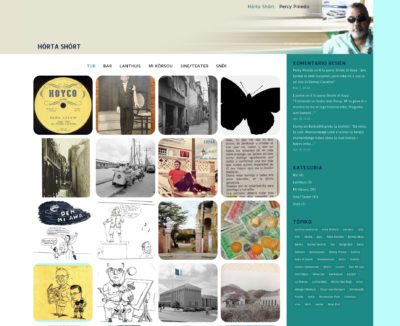
Percy Pinedo – Hòrta Shòrt
In zijn blog Hòrta Shòrt schrijft Percy Pinedo over zijn Curacao, 'Mi Kòrsou', de geschiedenis van theater en film, 'snèk', Otrobanda en meer in het Papiamentu.
Evelien Sipkes
Evelien Sipkes maakt bijzondere sieraden, draagbaar en niet of minder draagbaar, keramiek, te gebruiken of niet. Ze haalt haar inspiratie uit haar eigen ervaringen met het leven en de natuur van Curaçao, op de website verwoord en verbeeld in de Stories.
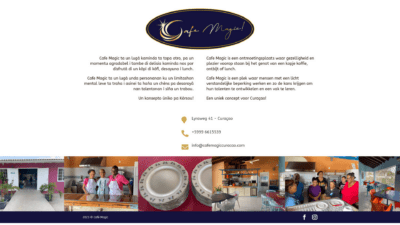
Café Magic
Cafe Magic is een gezellige ontmoetingsplaats waar je kan genieten van een kopje koffie, ontbijt of lunch. Het is een plek waar mensen met een licht verstandelijke beperking werken en zo de kans krijgen om hun talenten te ontwikkelen en een vak te leren.
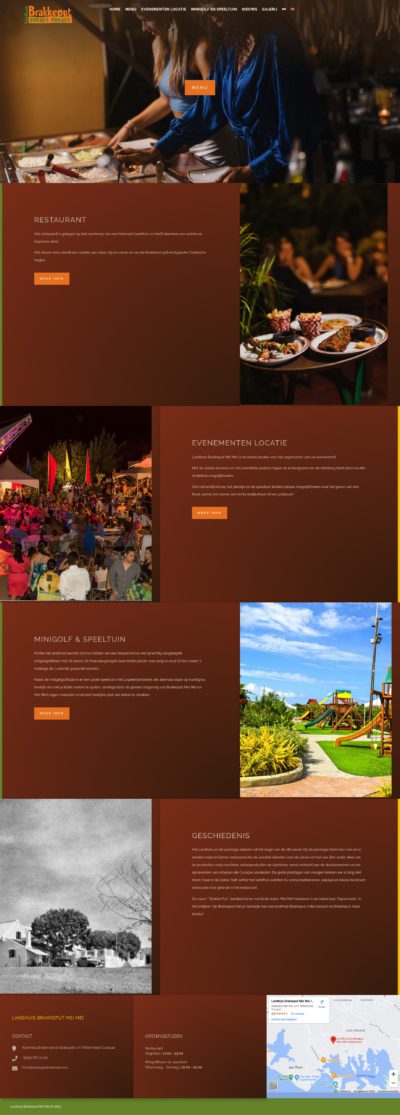
Landhuis Brakkeput Mei Mei
Gelegen op het voorterras van een historisch landhuis biedt dit restaurant een geweldige sfeer en omgeving. Daarbij een menu met een variatie aan vlees, kip en verse vis van de houtskool grill en typische Caribische hapjes. Andere locaties om het landhuis bieden...
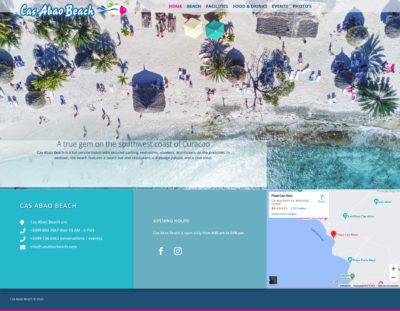
Cas Abao Beach
Een van de meest prachtige stranden op Band' Abou is Cas Abao Beach. Op deze website vind je alle praktische informatie en mooie foto's van dit bijzondere strand.

Studio Kuki
Studio Kuki is een leuke studio in hartje Otrobanda, een sfeervolle verblijfplek voor toeristen en reizigers.
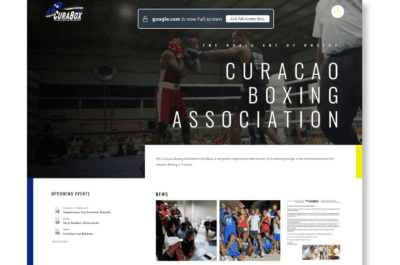
Curaçao Boxing Association
The Curaçao Boxing Association (CuraBox), a non-profit organization with the aim of promoting boxing, is as national federation official member of the International Boxing Association.
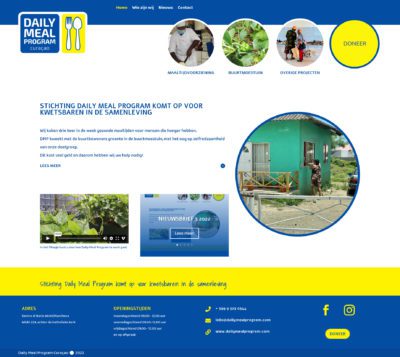
Daily Meal Program
Stichting Daily Meal Program komt op voor kwetsbaren in de samenleving. In het Sentro di Bario van Wishi/Marchena worden driemaal per week zo’n 200 maaltijden bereid door en voor de mensen uit de buurt, maar ook voor mensen met honger in andere wijken en voor de...
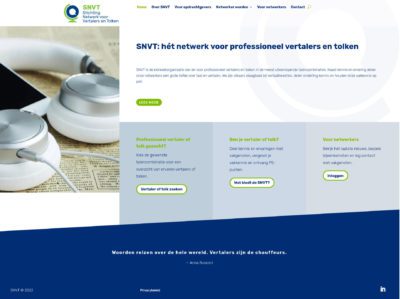
SNVT: hét netwerk voor professioneel vertalers en tolken
SNVT is een netwerkorganisatie in Nederland van en voor professioneel vertalers en tolken in de meest uiteenlopende talencombinaties. De website heeft een besloten deel waarop de aangesloten netwerkers kunnen inloggen en waar ze informatie vinden over bijeenkomsten...
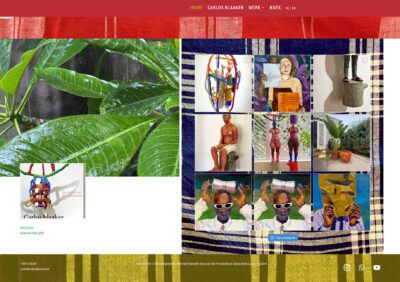
Carlos Blaaker
Met financiële ondersteuning van het Prins Bernhard Cultuurfonds Caribisch Gebied maakte Kuki+Ko een nieuwe website voor kunstenaar Carlos Blaaker. Blaaker woont en werkt in en maakt ruimtelijk werk en installaties, o.a. geïnspireerd door Otrobanda en haar bewoners.
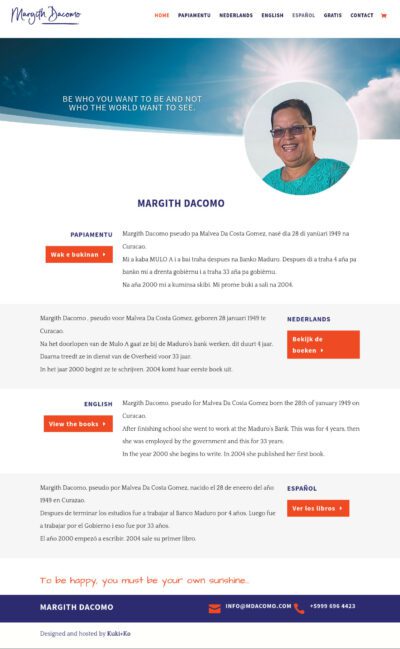
Margith Dacomo
Margith Dacomo, pseudoniem van Malvea Da Costa Gomez, schrijft al jaren boeken voor iedereen die positief wil leven, op zoek naar geluk. Ze schrijft in het Papiaments, Engels, Spaans en Nederlands. Op haar site zijn e-versies van haar boeken direkt te bestellen en er is ook een pagina met gratis downloads.
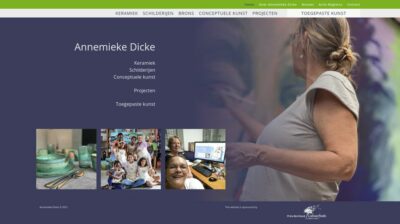
Annemieke Dicke
Kunstenaar en duizendpoot Annemieke Dicke maakt keramiek, schilderijen, ruimtelijk werk, serviezen naar wens en geeft wekelijks les aan creatieve kids en volwassenen via haar kunstschool Artis Magistra.
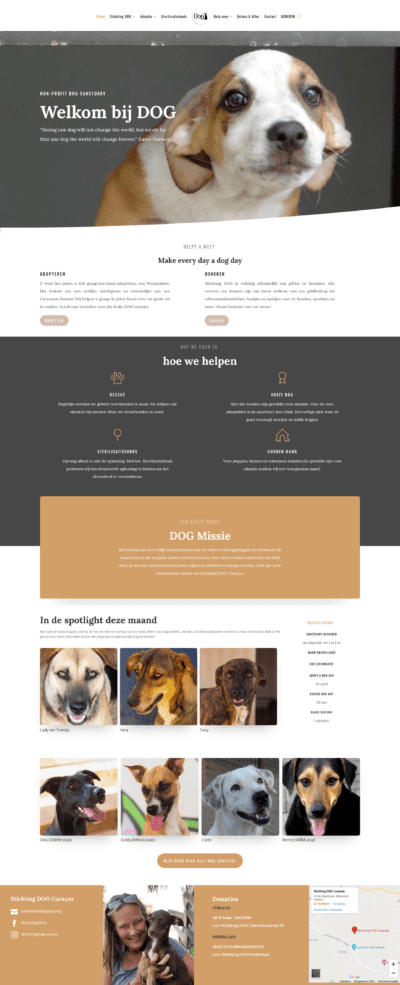
Stichting DOG
Stichting DOG geeft zwerfhonden een beter leven door adoptie of door een plekje in hun sanctuary. De motor achter de stichting is Djoeke Giliam, samen met een groep enthousiaste vrijwilligers. De website wordt al jaren gesponsord door Kuki+Ko. De zeer uitgebreide website is opgezet door Sabine Perret-Gentil met ondersteuning van Kuki+Ko, die ook de hosting sponsort.
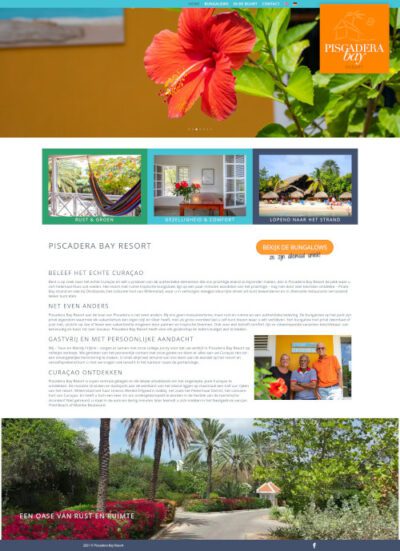
Piscadera Bay Resort
Piscadera Bay Resort wilde graag een boekingssite waarop alle bungalows in het park een eigen pagina hebben met een kalender en een optie om meteen een periode vast te leggen. We hebben dit gerealiseerd met de Hotel Booking plugin van Motopress. Het resultaat is een frisse nieuwe website die gemakkelijk te onderhouden is door de beheerders Mandy en Teun.
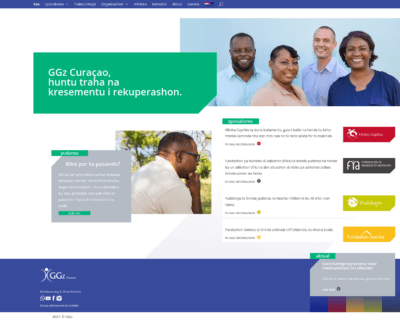
GGZ Curaçao
GGz Curaçao bestuurt en geeft ondersteuning aan: het Algemeen Psychiatrisch Ziekenhuis Dr. David Ricardo Capriles, Klínika Capriles, Fundashon pa Maneho di Adikshon (FMA),, Stichting Centrum voor Kinder- en Jeugdpsychiatrie Yudaboyu en Fundashon Sonrisa, voor beschermd en begeleid wonen en dagactiviteitencentrum.
Grafisch ontwerp is van Ivonne Zegveld van I-Design.
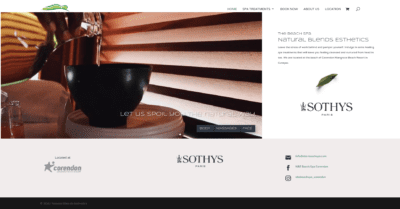
NBE Beach Spa @ Corendon
Natural Blends Esthetics is at your service for massages and beauty treatments at the beach of Corendon Mangrove Beach Resort.
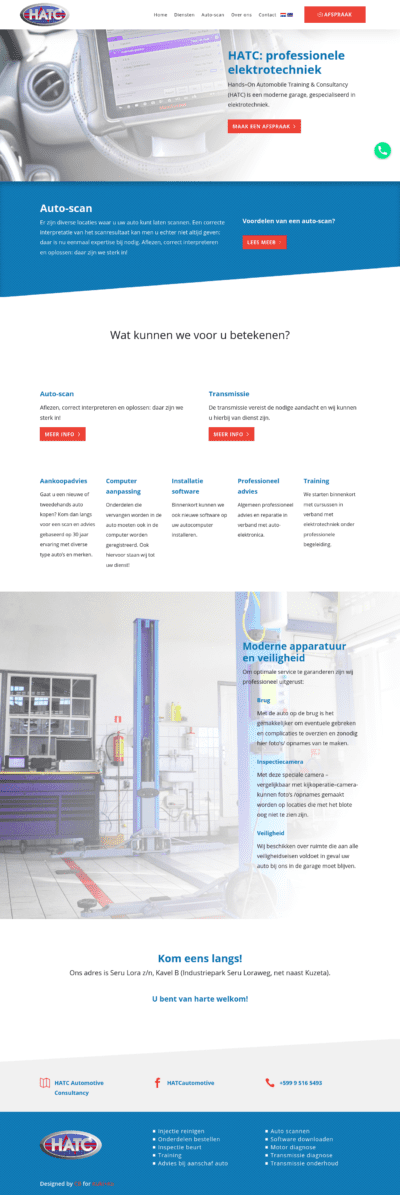
HATC
Hands–On Automobile Training & Consultancy (HATC) is een moderne garage, gespecialiseerd in elektrotechniek.
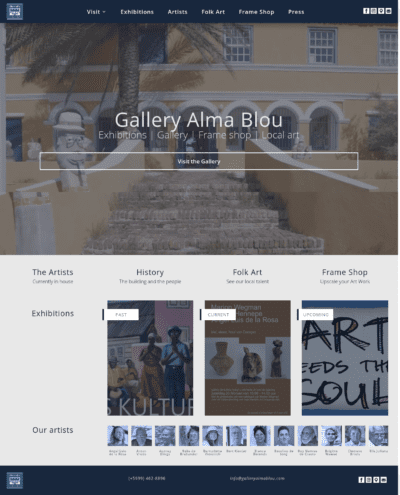
Gallery Alma Blou
Gallery Alma Blou is een dynamische galerie in sfeervol landhuis Habaai, met een bijzondere collectie kunst en folk art van Curacao en daar buiten. Galeriehouder Lusette Verboom is uw gastvrouw en ook voor het inlijsten van kunstwerken kunt u bij hen terecht.
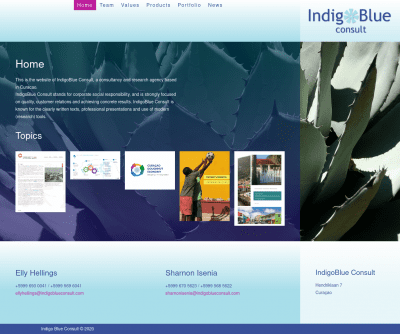
Indigo Blue Consult
Indigo Blue Consult is het advies- en onderzoeksbureau van Elly Hellings en Sharnon Isenia dat staat voor maatschappelijk verantwoord ondernemen.
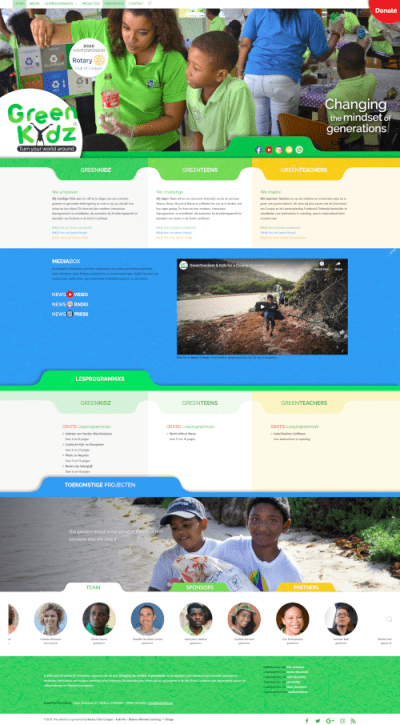
Greenkidz
In de week van de World Clean Up Day,op 19 september, ging de vernieuwde website van de GreenKidz Foundation live. Deze website, gesponsord door Rotary Club Curaçao, bevat een groot aantal kleurrijke en tweetalige lesmaterialen die voor iedereen gratis en eenvoudig te downloaden zijn.
Grafisch ontwerp is van Ivonne Zegveld van I-Design. Maya Mathias, copywriter en GreenKidz coördinator bedacht de teksten en de websitestructuur.
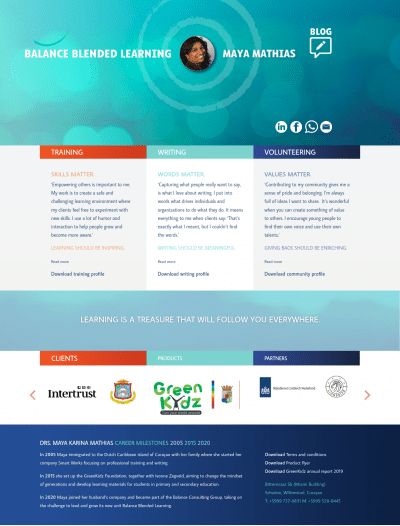
Maya Mathias van Balance Blended Learning
Maya Mathias werkt vanuit Balance Blended Learning als een dynamische en professionele trainer en schrijver op alle eilanden van de Nederlandse Cariben voor een brede klantenkring van profit, non-profit en overheidsorganisaties.
Grafisch ontwerp is van Ivonne Zegveld van I-design.
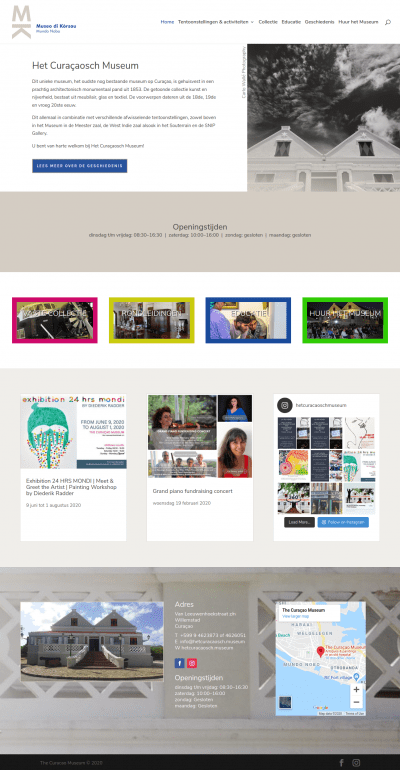
Het Curaçaosch Museum
Het Curaçaosch Museum is het oudste museum van Curacao, gehuisvest in een prachtig architectonisch monumentaal pand uit 1853. De getoonde collectie kunst en nijverheid, bestaat uit meubilair, glas en textiel. De voorwerpen dateren uit de 18de, 19de en vroeg 20ste eeuw. Er zijn wisselende tentoonstellingen van hedendaagse kunst.
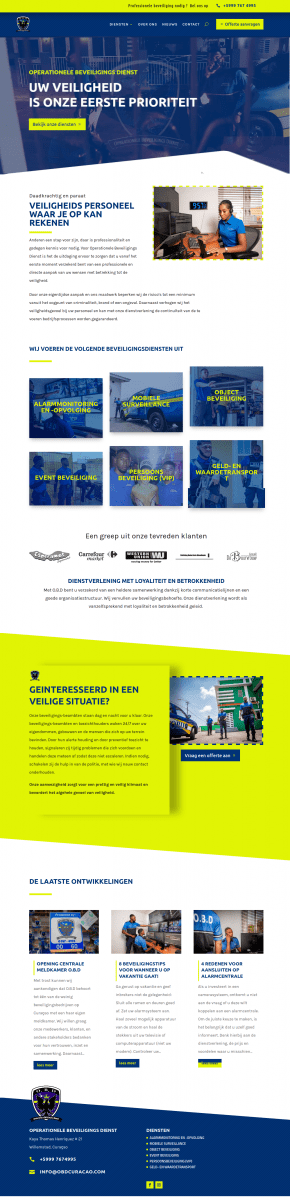
Operationele Beveiligings Dienst
OBD Curacao is een bedrijf dat verschillende diensten aanbiedt in het kader van veiligheid, zoals alarmmonitoring en -opvolging, beveiliging van objecten, events en personen en geld- en waardetransport.
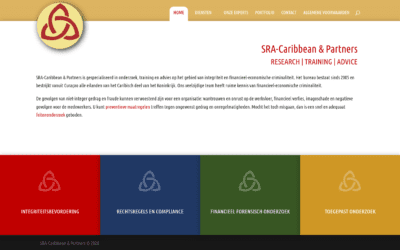
SRA Caribbean
SRA-Caribbean & Partners van Nelly Schotborgh is gespecialiseerd in onderzoek, training en advies op het gebied van integriteit en financieel-economische criminaliteit. Het bureau bestaat sinds 2005 en bestrijkt vanuit Curaçao alle eilanden van het Caribisch deel van het Koninkrijk.
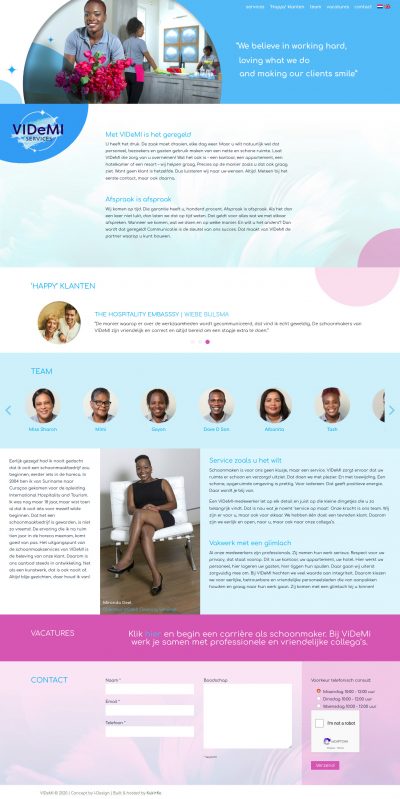
VIDeMI Services
VIDeMI, het schoonmaakbedrijf van Mironda Deel, werkt met professionele schoonmakers die van aanpakken houden en zij zorgen voor het schoonmaken van kantoren, appartementen en hotels. Met een glimlach!
Grafisch ontwerp is van Ivonne Zegveld van I-design.
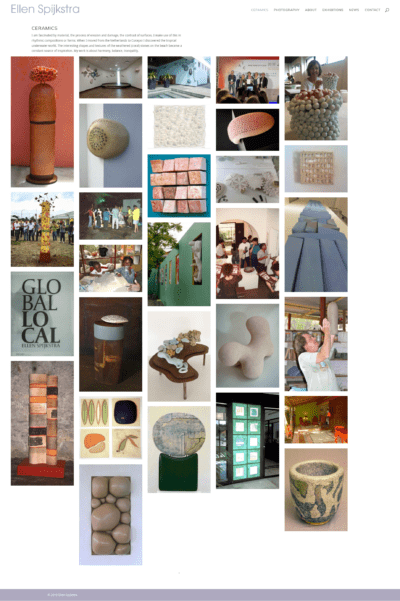
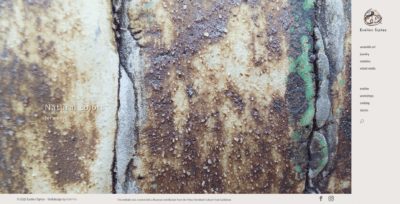
Ellen Spijkstra
Ellen Spijkstra is keramist en fotograaf en woont en werkt sinds 1980 op Curaçao. Haar werk is te zien op het eiland en ver daar buiten, in de openbare ruimte en op vele exposities, solo en groep.
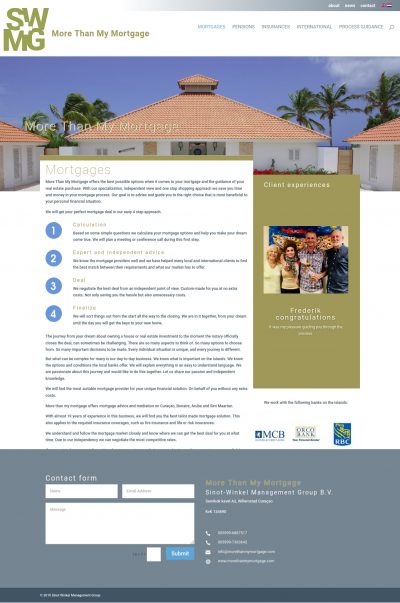
More Than My Mortgage
Roos Sinot-Winkel is de motor achter More Than My Mortgage. Met passie en veel kennis van de lokale markt en ervaring, helpt ze haar klanten aan een passende hypotheek, verzekering of pensioen.

Fundashon Wega di Number Kòrsou
FWNK is de stichting die de dagelijkse trekking van de Wega di number verzorgt en de Sorteo Èkstra op zondag.
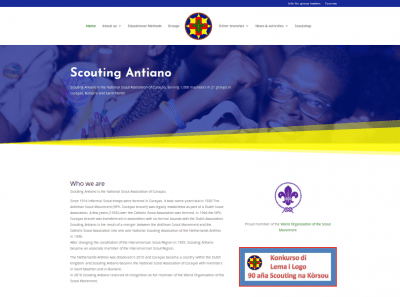
Scouting Antiano
Scouting Antiano is de Natiaonal Scouting Associatie van Curaçao, met 1,600 leden in 21 groepen in Curaçao, Bonaire en Sint Maarten.
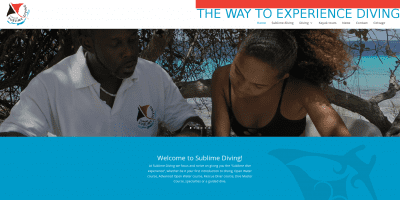
Sublime Diving / Cottage Dokterstuin
Met Sublime Diving biedt Ellis Litecia nieuwelingen en ervaren duikers de best mogelijke ervaring van de onderwaterwereld op Curaçao. Als je weg wilt van het drukke bestaan, een beetje rust en ruimte voelen kun je ook hun cottage op Dokterstuin huren, waar Ellis en Monique je hartelijk ontvangen.
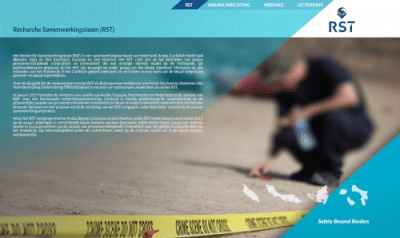
Recherche Samenwerkingsteam (RST)
Het Recherche Samenwerkingsteam (RST) is een samenwerkingsverband van Nederland, Aruba, Caribisch Nederland (Bonaire, Saba en Sint Eustatius), Curaçao en Sint Maarten. Het RST richt zich op het bestrijden van zware, grensoverschrijdende criminaliteit en criminaliteit die een ernstige inbreuk maakt op de rechtsorde.
Grafisch ontwerp is van Ivonne Zegveld van I-design.
Titania NV
Titania is een ICT bedrijf van John Mulders, gespecialiseerd in administratieve standaard- en maatwerksoftware voor de PC in een Windows omgeving op Curaçao.
Natural Blends Esthetics @ Kokomo Beach
The spa Natural Blends, run by Ann Marie van der Kooij, on the Renaissance beach has opened a second location at Kokomo Beach. Another place to get spoiled. The site has a online reservation system. Photo’s: Caroline Castendijk.
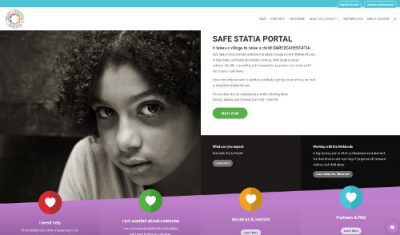
Safe Statia Portal
Safe Statia Portal provides assistance to adults, youngsters and children who are, or have been, confronted by domestic violence, child abuse or sexual violence. We offer counseling and treatment for perpetrator and victim and if necessary a safe haven.
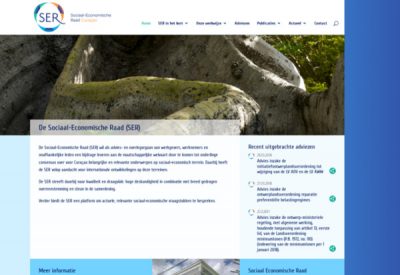
Sociaal Economische Raad
De Sociaal-Economische Raad (SER) wil als advies- en overlegorgaan van werkgevers, werknemers en onafhankelijke leden een bijdrage leveren aan de maatschappelijke welvaart. Foto’s Michelle da Costa Gomez.
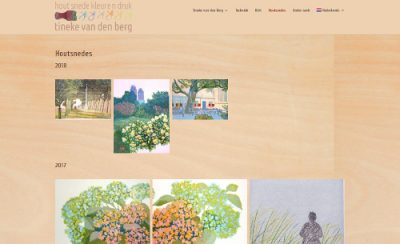
Tineke van den Berg
Tineke van den Berg is een grafisch kunstenaar, gespecialiseerd in houtsnedes en aquarellen. Landschappen en stadsgezichten vormen vaak het onderwerp van haar werk.
Tineke woonde en werkte drie jaar op Curaçao. Ze is lid van het Landelijk Kunstenaarsgenootschap De Ploegh, en van HOLT, de Vereniging van Noordelijke Hoogdrukkers.
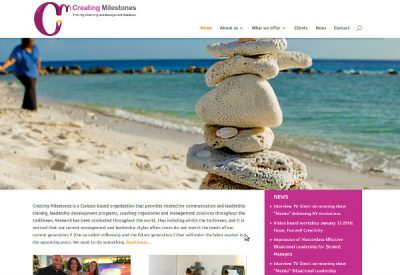
Creating Milestones
Creating Milestones, of Raquel Weisz, is a Curacao based organization that provides interactive communication and leadership training, coaching trajectories and management solutions throughout the Caribbean. Foto’s: Pet Holman.
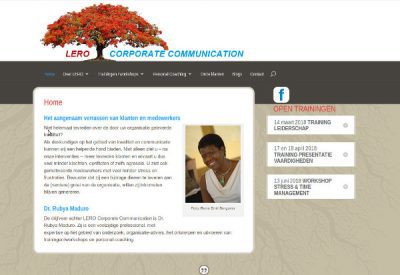
LERO
Rubya Maduro van LERO Corporate Communication is een specialist op het gebied van kwaliteit binnen organisaties. Zij geeft organisatie-advies, trainingen/workshops en personal coaching.
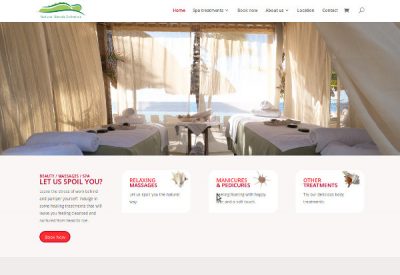
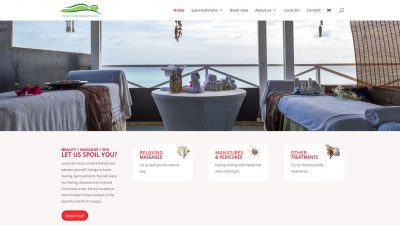
Natural Blends Esthetics
Natural Blends is a beach spa, run by Ann Marie van der Kooij, on the Renaissance beach, where the air is fresh, clean and stress seems to fade away upon arrival. A place to get spoiled. The site has a online reservation system. Photo’s: Caroline Castendijk.
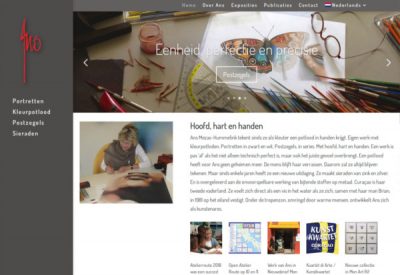
Ans Mezas Hummelink
Ans Mezas-Hummelink woont op Curaçao sinds 1981. Zij maakt portrettekeningen, werken met kleurpotlood, sieraden van zilver, zink en perspex en ontwerpen voor postzegels en munten.

Dianne Habraken
Wil je verandering van binnenuit voor jezelf, je team of organisatie? Dan ben je van harte welkom bij Dianne Habraken, voorheen Daidalos Coaching, in Oud-Heusden, Nederland.
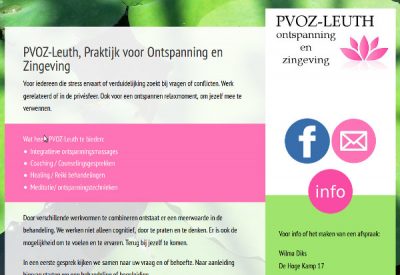
Praktijk voor Ontspanning en Zingeving
Praktijk voor Ontspanning en Zingeving in Leuth, Nederland van Wilma DIks is er voor iedereen die stress ervaart of verduidelijking zoekt bij vragen of conflicten.
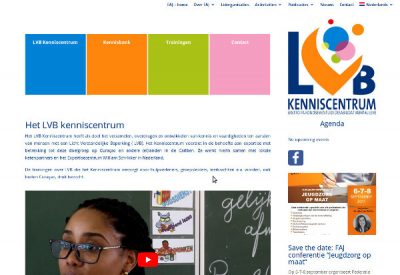
LVB kenniscentrum
Het LVB Kenniscentrum heeft als doel het verzamelen, overdragen en ontwikkelen van kennis en vaardigheden ten aanzien van mensen met een Licht Verstandelijke Beperking ( LVB).
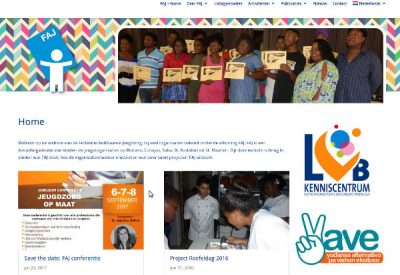
Federatie Antilliaanse Jeugdzorg
FAJ is een koepelorganisatie van kinder- en jeugdorganisaties op Bonaire, Curaçao, Saba, St. Eustatius en St. Maarten.
Fundashon Formashon Awe Progreso Mañan
Fundashon Formashon Awe Progreso Mañan is een stichting, die onder zijn toezicht een instituut heeft, dat zowel kinderen, jongeren en hun families begeleidt.
Stichting AJJC
Stichting AJJC biedt pedagogische interventie aan zorg- en risicojongeren in een strafrechtelijke omgeving om te voorkomen dat ze uitvallen in geboden trajecten of afglijden in de criminaliteit.
Kos ta Bon!
Kos Ta Bon! is gespecialiseerd in advies en bemiddeling van pensioenen en hypotheken op Curaçao, Aruba, Bonaire en Sint-Maarten.
Business Point Conference
Curaçao Business Point organizes business conferences for entrepreneurs to improve their businesses.
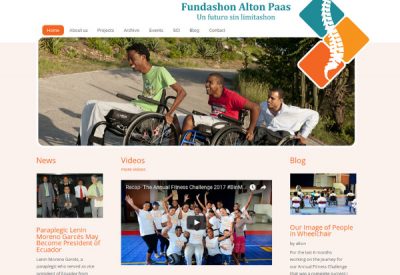
Fundashon Alton Paas
Fundashon Alton Paas is een actieve organisatie van zeer inspirerende mensen die zich inzetten om de kwaliteit van leven van mensen met een handicap te verbeteren.
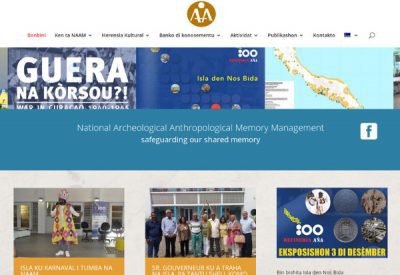
NAAM
NAAM is ons nationaal museum. Deze actieve organisatie conserveert, documenteert en beheert archeologische en antropologische collecties,en werkt ook aan het beheer van het cultureel erfgoed.
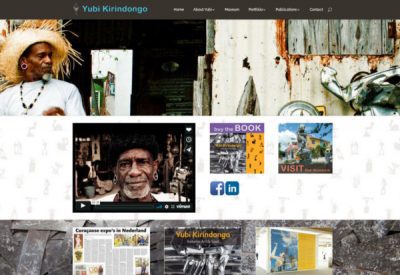
Yubi Kirindongo
Yubi Kirindongo, een eigenzinnige lokale kunstenaar, wiens werk op en ver buiten Curacao waardering krijgt.

Phae-affairs
Carlien de Witt Hamer van Phae-affairs combineert haar ervaring met filosoof, kunst en onderzoek tot een uniek en gevarieerd aanbod.
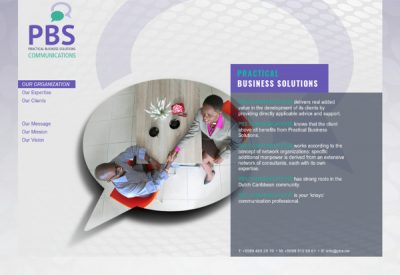
PBS
Jefka Alberto van Practical Business Solutions is een ervaren en inspirerende communicatie specialist. Ontwerp: Ivonne Zegveld (I-design). Foto’s: Pet Holman.
Toezicht Arrestantenzorg
De Commissie Monitoring & Toezicht Politiecellen houdt toezicht op een correcte behandeling van de arrestant.
Serena’s Art Factory
Serena's Art Factory is waar de bekende Chichi's worden gemaakt. Een inspirerend en sociaal bedrijf, geleid door Serena Israel.
Edudesign
Edudesign, van Hayo Vink en Sugeidy Windster, slaat een brug tussen onderwijs en arbeidsmarkt.
Tuzepla
Bij Tuzepla, van Hans Kelders, kunt u terecht voor meubels op maat. Tuzepla maakt keukens, kasten, kantoorinrichtingen zoals u ze wilt hebben.
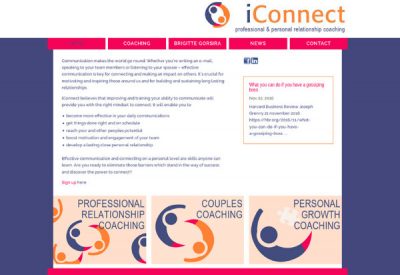
iConnect
Brigitte Gorsira is a certified coach in St. Maarten. Her company iConnect believes that improving and training your ability to communicate will provide you with the right mindset to connect.
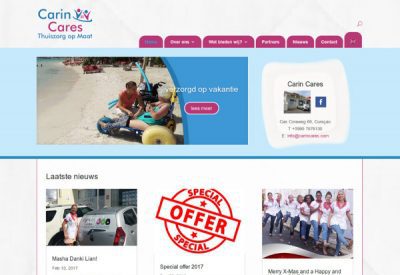
Carin Cares
Carin Cares is een kleinschalige thuiszorgorganisatie. Carin Cares levert elke vorm van verpleegkundige zorg voor hen die dat nodig hebben, op elke dag van de week.
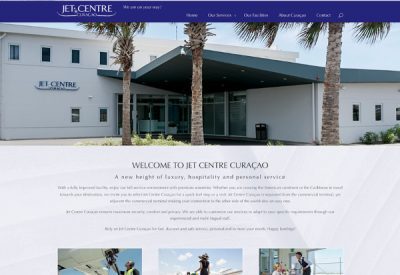
Jet Centre Curaçao
Jet Centre Curaçao is Curaçao’s very first dedicated terminal that offers the private aviation community a more luxurious comfortable travelling experience.

SIEM interiors BV
SIEM interiors BV verkoopt moderne en betaalbare keukens, badkamers en accessoires. En heeft zich bovendien gespecialiseerd in waterbesparende producten.
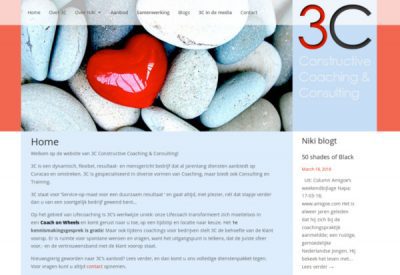
3C Coach Consult
3C, van Niki Smiet, is een dynamisch, flexibel, resultaat- en mensgericht bedrijf dat al jarenlang diensten aanbiedt op Curacao en omstreken. 3C is gespecialiseerd in diverse vormen van Coaching, maar biedt ook Consulting en Training.
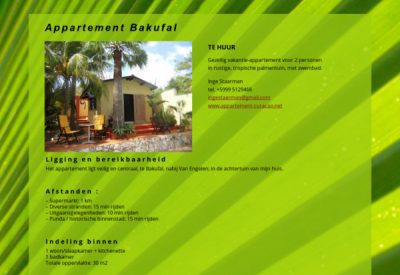
Appartement Bakufal
Inge verhuurt een gezellig vakantie-appartement voor 2 personen aan vakantiegangers in rustige, tropische palmentuin, met zwembad.
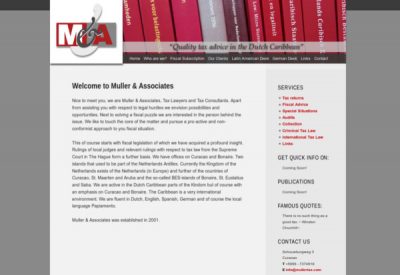
Muller & Associates
Muller & Associates, Tax Lawyers and Tax Consultants.

ReGie Curacao
ReGie, van Renée Gielen, is vooral bekend van Tv-programma’s en documentaires die ingaan op de maatschappelijke ontwikkelingen op Curaçao.
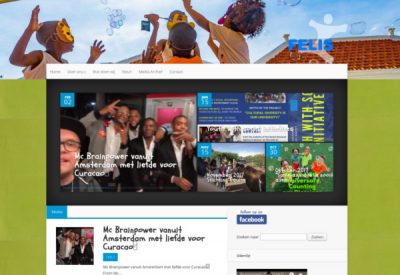
Stichting Felis
Deze stichting is opgericht met het doel een effectieve professionele organisatie te vormen die zich richt op de naschoolse opvang en begeleiding van kinderen.
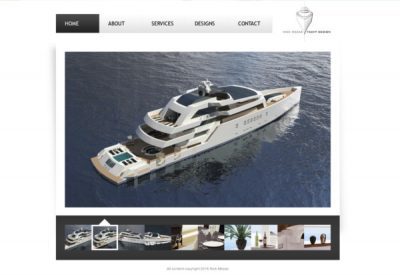
Nick Mezas Yacht Design
Nick Mezas Yacht Design, a young yacht design company with a mature passion.
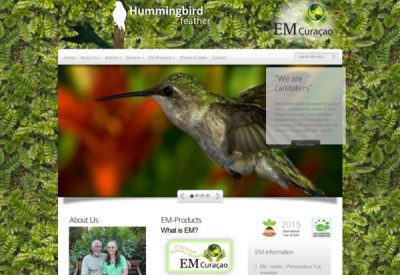
Hummingbird feather
The Hummingbird, messenger of joy and beauty, symbolizes the rebirth of Taino Indigenous people in the Caribbean diaspora.
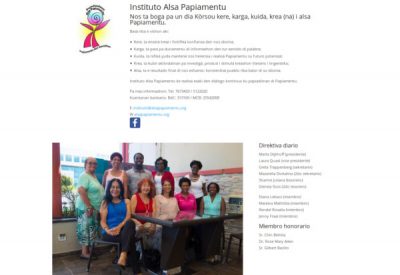
Alsa papiamentu
Nos ta boga pa un dia Kòrsou kere, karga, kuida, krea (na) i alsa Papiamentu.